How I Locked Myself Out While Securing My Website with Caddy Proxy (And Fixed It)

By using Platform-as-a-Service tool coolify, I am deploying so many different cool and useful services like my personal website, this blog or a dashy dashboard.
Since I want to have personal and sensitive material on my dashy, it cannot be public!
The plan? Secure the private services on my server, so they wouldn’t be exposed to the world. Easy, right? Not exactly.
I started with Dashy’s authentication guide, trying everything from HTTPAuth to Keycloak, but nothing worked. Frustrated, I decided to use Caddy’s dynamic authentication file. It’s a simple solution: just drop a configuration file into Caddy’s dynamic folder, and you´re good to go. Or so I thought.
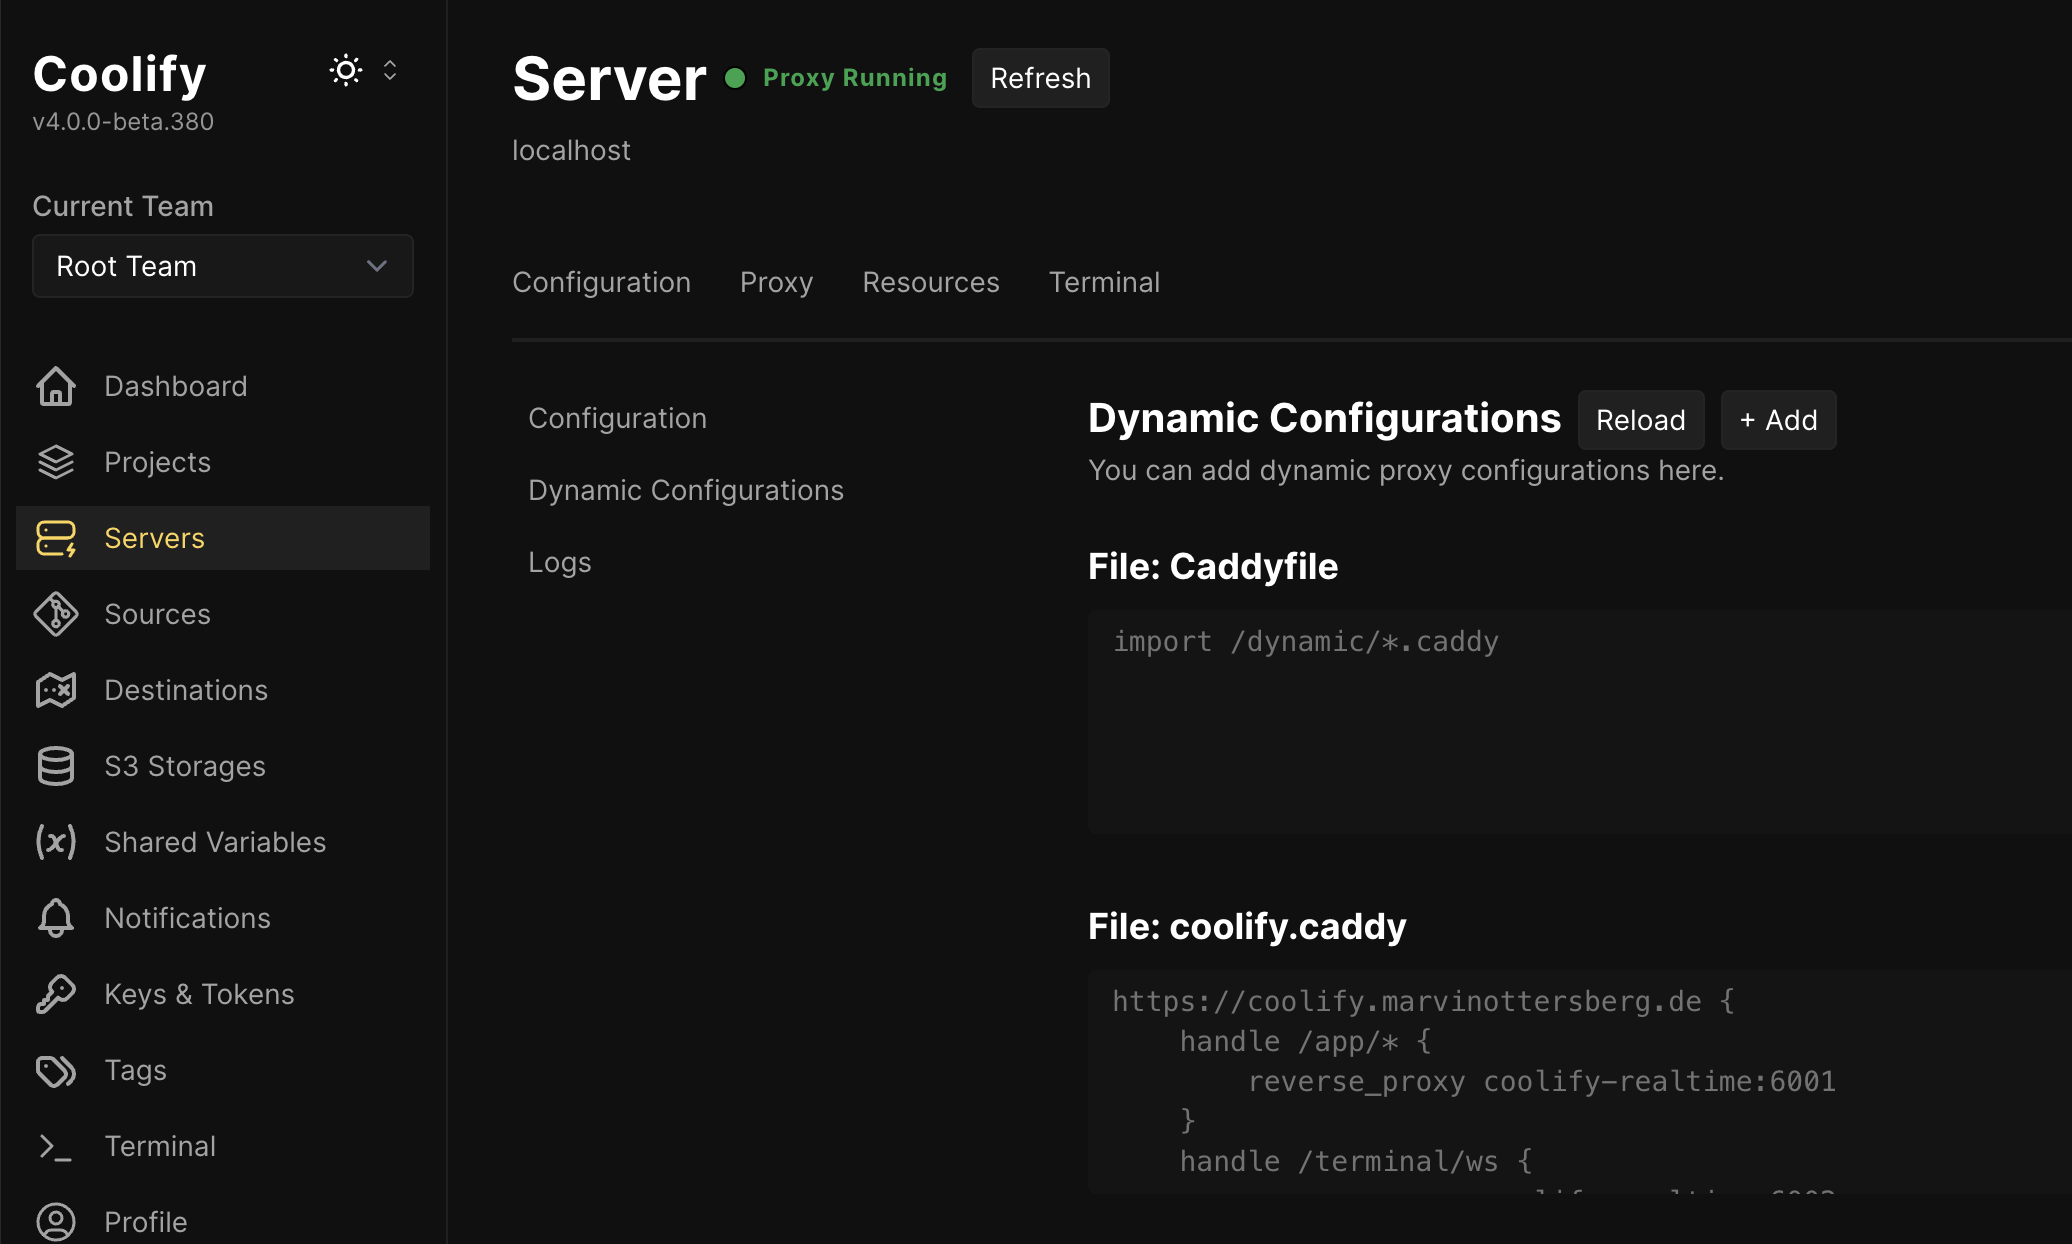
In coolify, the proxy settings are found in Server -> localhost -> Proxy.
The Mistake: Overwriting all subdomains
I added the below setup as dynamic caddy configuration:
(secure) {
    basicauth /* {
        admin JDJhJDE0JHh5ei4uLg==
    }
}

# Catch all other subdomains and protect them
*.marvinottersberg.de {
    import secure
    # Skip the domains we want public
    @notPublic {
        not host marvinottersberg.de
        not host blog.marvinottersberg.de
    }
    handle @notPublic {
        reverse_proxy {upstream}
    }
}
I used this tool to generate a bcrypt-encrypted password.
Feeling confident, I uploaded the file through Coolify’s dashboard and hit save.
Cue disaster.
The Fallout: Locking myself out of the server
Instead of my beautiful dashboard, I was greeted with this:
This site can’t provide a secure connection
ERR_SSL_PROTOCOL_ERROR
Worse still, I had managed to lock myself out of my Coolify dashboard. Great!
The Fix: Setting Up Caddy Proxy the Right Way
Here’s what I did to fix it.
I logged into my server with SSH and removed my newly created basicauth.caddy file from the /dynamic folder and restart the coolify-proxy container. I followed these steps:
- On your instance, find the Docker proxy container name or id:
docker ps | grep -i "coolify.*proxy"
# Output:  5571e373e2d1   lucaslorentz/caddy-docker-proxy:2.8-alpine                          "/bin/caddy docker-p…"   2 weeks ago      Up 3 minutes             0.0.0.0:80->80/tcp, :::80->80/tcp, 0.0.0.0:443->443/tcp, :::443->443/tcp, 0.0.0.0:443->443/udp, :::443->443/udp, 2019/tcp   coolify-proxy
- Locate your Caddyfile inside proxy container:
docker exec -it coolify-proxy sh -c "find / -name 'Caddyfile' 2>/dev/null"`
# Output:   /dynamic/Caddyfile
- Deleted the problematic file that broke everything:
docker exec -it coolify-proxy sh -c "rm -rf /dynamic/basicauth.caddy"
- Restart the proxy:
docker restart coolify-proxy
Securing it properly
Afterwards, I simplified this caddy configuration and only added it for each subdomain individually.
dashboard.marvinottersberg.de {
    basicauth /* {
        <username> <bcrypt_encrypted_password>
    }
    reverse_proxy /* dashy-ikk4gkgggs8w4g4k480kgw4s:8080 {
        header_up Host {host}
    }
}
It is important to connect the service to coolify pre-defined network via the service stack settings.
Also, service discovery in coolify is achieved via the service name, dashy-ikk4gkgggs8w4g4k480kgw4s and not via localhost.
The reverse proxy must point to that name and their port.
Final words
There you have it. If you want to secure your website, don't be like me. Don't break your server proxy 😅
Hope you have a great day
Cheers, Marvin ✌️

Comments ()